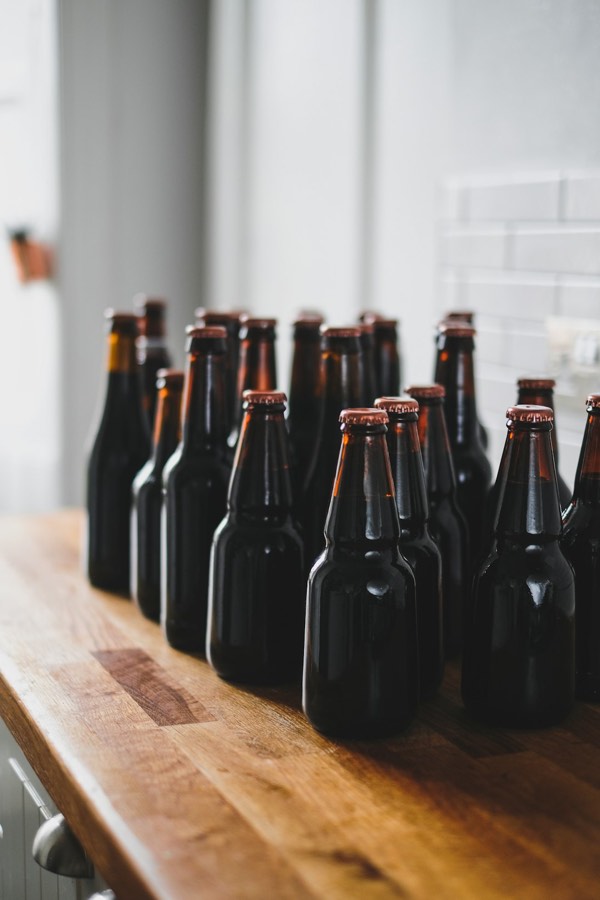
Going from “we want a bottle that looks like nothing else on the shelf” to an actual production mold is a longer process than most brands expect. Here’s what it actually looks like, step by step.
1. Concept and 2D sketches
Every custom project starts with 2D sketches — rough silhouettes exploring shoulder shape, base profile, and overall proportions. This stage is intentionally fast and cheap to iterate on, because changes here cost nothing compared to changes later.
2. 3D CAD modeling
Once a direction is chosen, it moves into full 3D CAD, where wall thickness, glass distribution, and structural integrity get modeled precisely. This is also where we check compatibility with standard filling and capping equipment, so the finished bottle doesn’t require the brand to buy all-new production machinery.
3. Prototype and physical sampling
A 3D-printed or sample-run prototype comes next, giving the brand something to physically hold, photograph, and test on their actual filling line before committing to a mold.
4. Mold production
This is the most capital-intensive step, and typically the longest lead time in the whole process. Molds are precision-machined and tested with live production runs before full-scale manufacturing begins.
5. First production run and QA
The first full run gets inspected closely for consistency — wall thickness, weight, and dimensional tolerances all get checked against spec before the bottle goes into regular production.
End to end, a custom bottle project typically takes several months from first sketch to first case off the line. It’s a real investment, but for brands where packaging is a core differentiator, it’s often the highest-leverage design decision they’ll make.